
Best Grill Recipes for the End of Summer
Summer is drawing to a close. You’ve been grilling month after month, and as mouth-watering as all those burgers and brats have been, you’re looking for something new. How fortuitous then, that you’ve found this post!
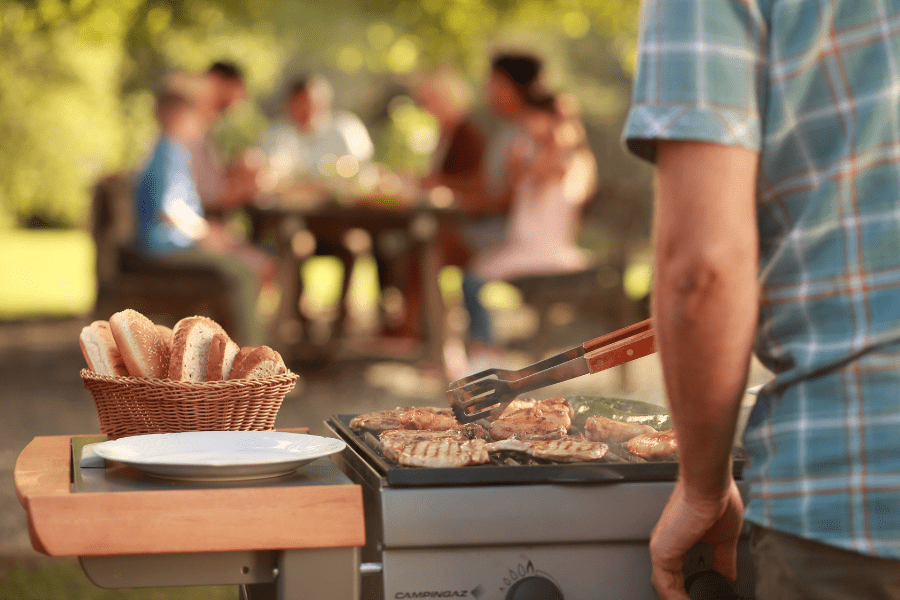
After a summer of grilling and smoking meats (or even just attending barbecues), you can start to lose inspiration for new things to make over the coals. Fear not! While the Sams family is quite busy from June to August, that doesn’t mean we don’t do our fair share of grilling. Take a peek below to discover some recipe recommendations to spice up your end-of-summer meals!
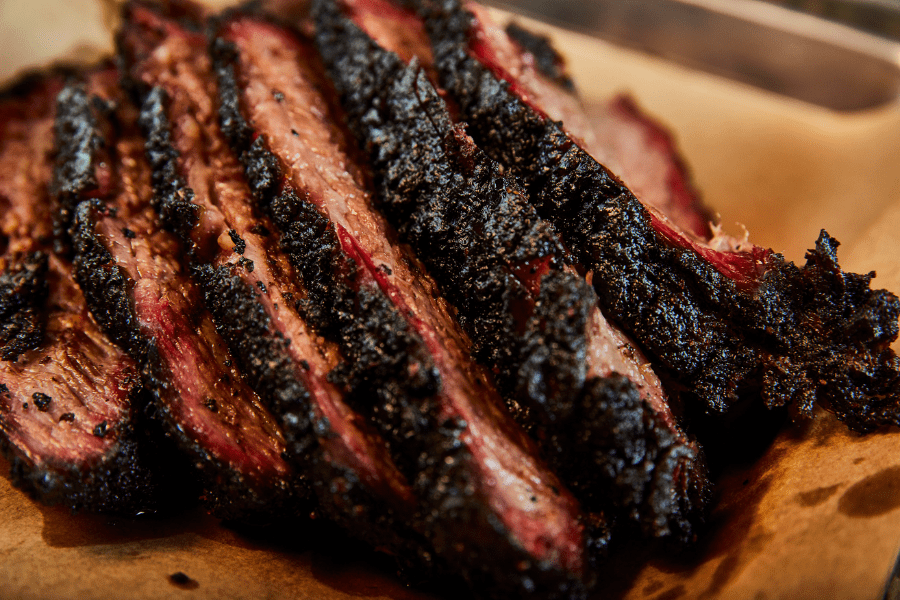
Brian’s 24 Hour Brisket
by Brian Sams
Having arrived at “middle age,” I was faced with a choice that all middle aged men must face: Buy a smoker and start smoking meats, or do a deep, deep dive into WWII history … And I went with the smoker. That’s not to say that I don’t love me some WWII history, but when you wake up hungry at 2am, the Battle of the Bulge just doesn’t hit the same way as a delicious leftover slice of brisket!
I discovered this method after making a couple of subpar briskets following some other methods. I have added a few changes over time, but I think that this is the easiest, most guaranteed method to a tender, flavorful brisket
First, trim and prep your brisket and then cover it in a thin layer of a mixture of salt and pepper. Some people like to use a “binder” like mustard or mayonnaise , but I just go for it. You might find that you prefer to add some garlic powder or something similar, but I keep it simple.
If time allows, you can dry marinate the brisket in your refrigerator overnight.
Second, preheat your smoker to 225-250°and then put in your brisket and walk away for 12 hours! It won’t hurt to check on it every once in awhile, and make sure that you don’t run out of fuel for your smoker!
Third, remove the brisket from the smoker and wrap it carefully in aluminum foil, parchment paper, or similar wrap and put it on a baking sheet in an oven preheated to 225° for about 12 hours. You might want to preserve the “au jus” from this step to make a gravy or sauce!
Fourth, and this is a little step that I made up, remove the brisket from the oven, open the wrapping, and put it back in the smoker for another hour at 225° to create a more firm “bark” on your brisket.
Then just slice it (an electric knife works great) and serve. Tender, smoky, and delicious every time.
It’s probably not a “purist” method for making a brisket, but once again, it’s foolproof and a low effort way to make a fantastic brisket.
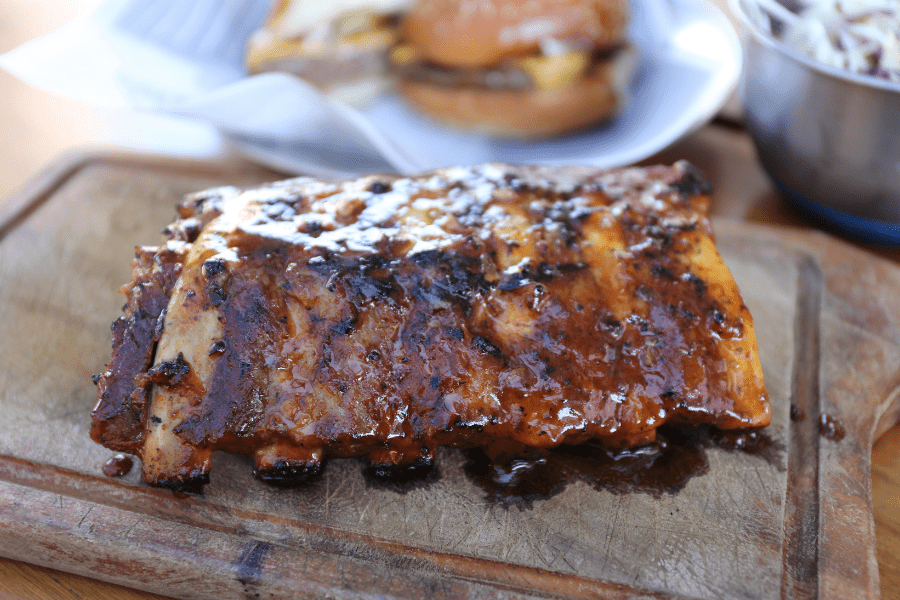
Brian’s 3-2-1 Ribs
by Brian Sams
This is a fairly common smoker recipe, but it always turns out great, so I recommend it to anyone with a smoker and 6 hours!
First, prep the ribs and then cover them in the dry rub of your choice. Personally, I make my own rub, it’s not difficult to do and saves a lot of money over prepared rubs, which mainly consist of paprika, salt, pepper, and brown sugar, with a few variations depending on personal preference. If you can, let the ribs “dry marinate” for a few hours before the next step.
Second, preheat your smoker to 225°-250°.
Third, put the ribs in the smoker and walk away for 3 hours.
Fourth, remove the ribs and carefully wrap with aluminum foil to seal in the moisture. I pour a cup or so of chicken stock in to keep the ribs moist. You can try a variety of liquids, such as beer, vinegar, etc. Put the ribs in the smoker, set a timer for 2 hours (the nice thing is that you don’t have to be exact, but try to make the full time for each step).
Fifth, after the 2 hours are up, open the aluminum foil and brush the ribs with BBQ sauce. Leave the foil open and leave the ribs in the smoker for one more hour.
When you remove the ribs, they will be fall apart tender and deliciously smoky.
It’s not complicated, and it’s pretty much foolproof. Your guests will think that you are a grilling genius!

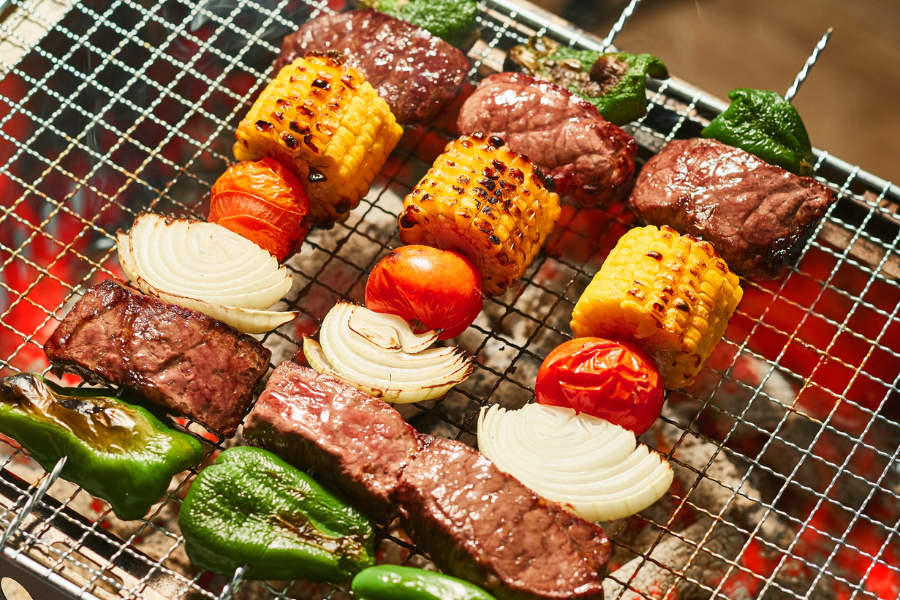
Teriyaki Chicken Kebabs
by Olivia Sams
No summer is complete for me without some of my mom’s Teriyaki Chicken Kebabs. Perfectly juicy, flavorful, and paired wonderfully with roasted onions and peppers, this is one meal that never leaves leftovers unless you plan for it. You can either use your own teriyaki or the recipe below, which is my mom’s own concoction (and in my opinion, infinitely better).
Start by preparing your chicken. Cut off all fat and skin, lightly tenderize what remains, and slice your chicken up. For breasts, cut long, thin strips. For other cuts of meat, feel free to cube them! Marinate in your sauce for 2-4 hours in the refrigerator. If you want to go overnight you can, but it doesn’t change the flavor enough to be an imperative step.
Once your chicken is done marinating, skewer it! For the long strips, do it in a wave. For cubes, skewer normally. You can alternate with veggies if your heart desires so!
Commence grilling until the chicken is fully cooked and the outside is just starting to crisp up. Your chicken should be a perfect golden brown.
Quick, easy, and so delicious you’ll always be wishing you made more!
Lisa’s Teriyaki Sauce:
5 TBSP Brown Sugar
5 TBSP soy sauce (can easily substitute with coconut aminos)
4 TSP (generously scooped) diced garlic
Ginger at your discretion
Splash of white wine at your discretion
Whisk to combine.
We hope these recipes sparked some creative fires! If you make any of them, we’d love for you to share it with us – send pictures or recipe reviews on Instagram, Facebook, or just email us at vacation@campfirebayresort.com!